現場リポート!!
テーマ:ブログ
2010/11/07 12:24
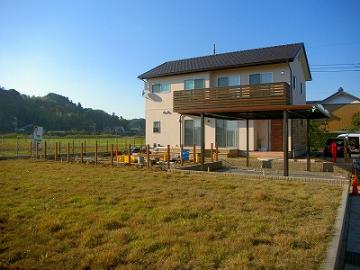
香取市 Y様邸
ウッドフェンス工事に取り掛かりました~
アップ
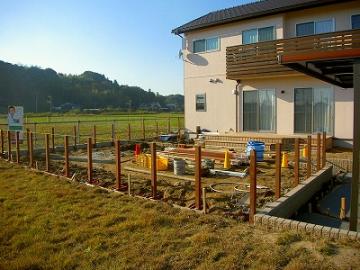
完成を楽しみにしてくださいね。素敵にしあげまーす
駐車場のコンクリートも打ちました。
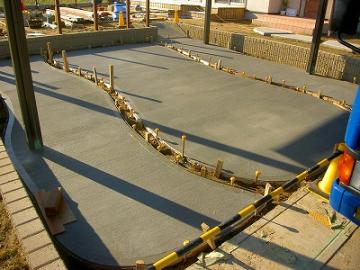
薄ベニヤをつかって、曲線にしあげました。
手間が掛かるけど、他と変わっていてGood!です
立水栓もつけました
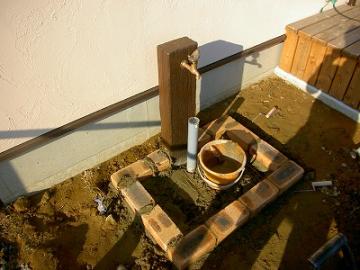
水受けはレンガとモルタルで自作です。
この方がコストが掛からず、見た目もGood
立水栓を付ける方に、すすめているのが補助蛇口です。
いちいちホースを付け替えるのは面倒です。
そこでこんな感じに、ホース用の蛇口をつけます。
とっても便利です。
以上
現場リポーター 安重でした。
ウッドフェンス工事に取り掛かりました~
アップ
完成を楽しみにしてくださいね。素敵にしあげまーす
駐車場のコンクリートも打ちました。
薄ベニヤをつかって、曲線にしあげました。
手間が掛かるけど、他と変わっていてGood!です
立水栓もつけました
水受けはレンガとモルタルで自作です。
この方がコストが掛からず、見た目もGood
立水栓を付ける方に、すすめているのが補助蛇口です。
いちいちホースを付け替えるのは面倒です。
そこでこんな感じに、ホース用の蛇口をつけます。
とっても便利です。
以上
現場リポーター 安重でした。